


Regular price
Rs. 69
Sale price
Rs. 69
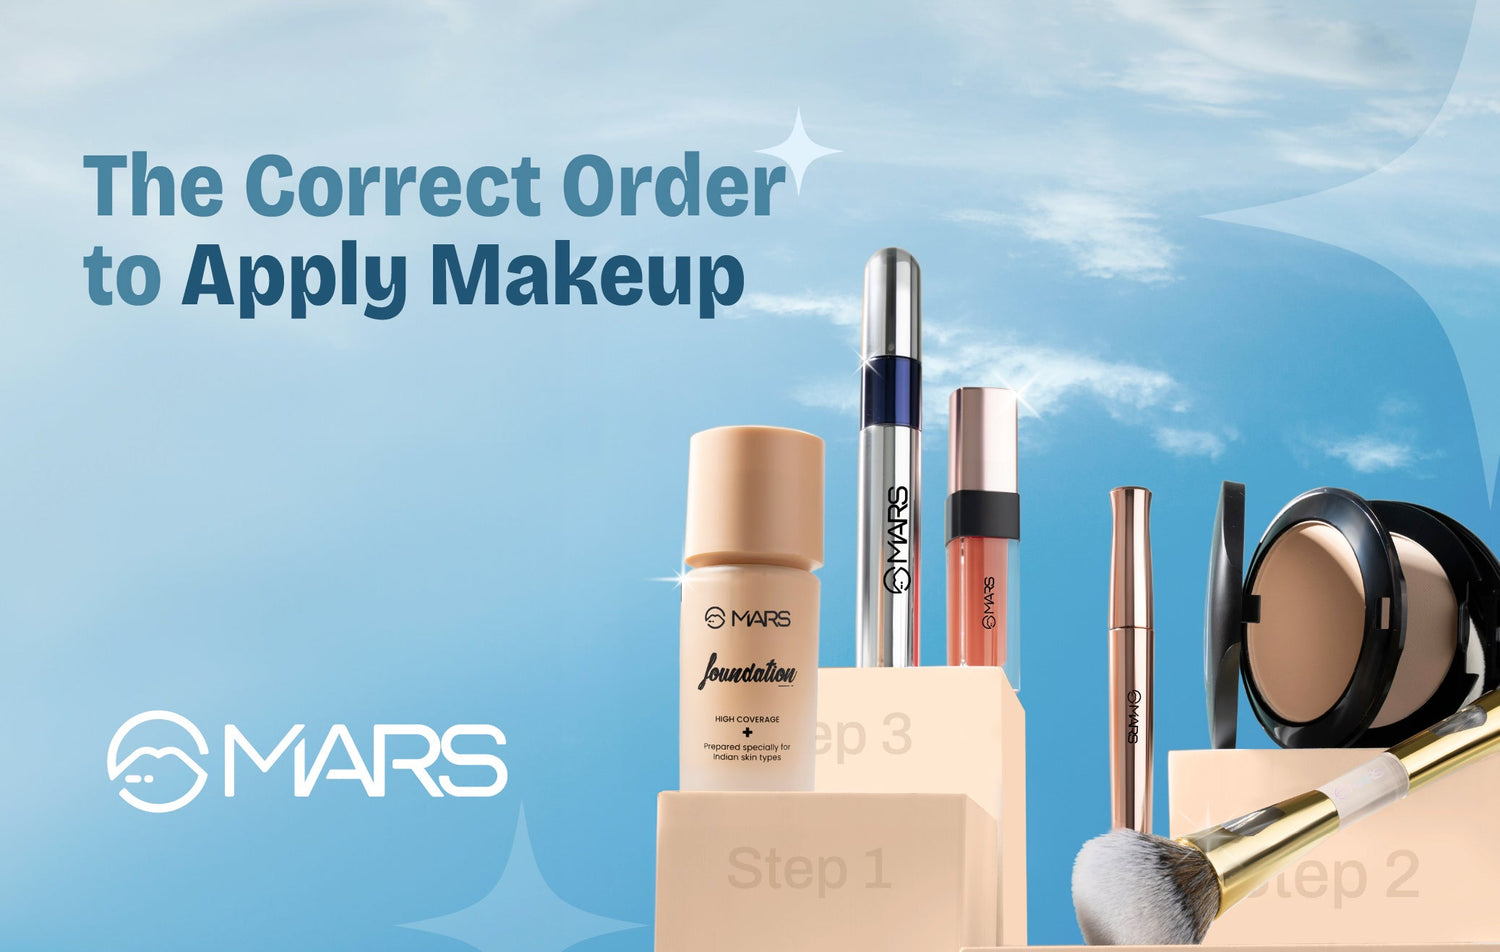
Ever feel lost in the maze of your makeup bag, unsure where to start or what to apply next? Fear not, beauty adventurers! Today, we're unveiling the "Beauty Blueprint," your personalized map to a flawless, long-lasting makeup routine. Achieving a flawless makeup look isn't just about the products you use; it's also about the order in which you apply them. This blog post will guide you through a proper step-by-step makeup routine, ensuring your products work harmoniously for a long-lasting, beautiful finish.
1. Skincare First: The Foundation for Flawless Makeup
Before any makeup touches your face, prioritize skincare. This creates a smooth, hydrated canvas and helps your makeup last longer. Good skincare also protects your skin.
Cleanse: Start with a gentle cleanser to remove any dirt, oil, or impurities. It ensures a fresh start.
Tone (Optional): A toner can balance your skin's pH and prepare it for the next steps.
Serum (Optional): If you use a serum, apply it now. Serums target specific skin concerns and should be applied before moisturizers. It's like adding a powerful primer for your skin's health.
Moisturize: Hydration is key! It is the lifeline of a radiant look. Apply a moisturizer suitable for your skin type. Let it absorb completely before moving on.
Eye Cream: Gently apply eye cream to hydrate the delicate skin around your eyes.
Sunscreen: This is non-negotiable! Apply a broad-spectrum sunscreen with SPF 30 or higher. Allow it to absorb fully. Even on cloudy days.

2. Base Layers: Creating a Smooth Canvas
Now, we start building our masterpiece, layer by layer. Follow the correct order to apply makeup to create a smooth, even base for your makeup.
Primer: Primer helps your makeup adhere to your skin, fills in pores, and extends wear time. Choose a primer that addresses your skin concerns (e.g., mattifying for oily skin, hydrating for dry skin). It is your secret weapon for longevity. It smooths, blurs, and grips your makeup.
Color Corrector (Optional): If you have any discoloration (e.g., redness, dark circles), apply color corrector now. Green neutralizes redness and peach/orange neutralizes dark circles.
Foundation: Apply your foundation using a brush, sponge, or your fingers. Start with a thin layer and build coverage as needed. Remember, less is often more.
Concealer: Apply concealer to areas that need extra coverage, such as under-eye circles, blemishes, or redness. Blend it seamlessly into your foundation.

3. Adding Dimension: Sculpting and Defining
This step in the makeup routine adds depth and definition to your face.
Bronzer (Optional): Apply bronzer to the hollows of your cheeks, temples, and jawline to add warmth and definition. It gives a sun-kissed contour.
Blush: Apply blush to the apples of your cheeks for a healthy flush of color.
Highlighter: Apply highlighter to the high points of your face, such as your cheekbones, brow bones, and cupid's bow, for a luminous glow.

4. Eye Makeup: Enhancing Your Eyes
Now, let's focus on the windows to the soul.
Eyebrows: Fill in your eyebrows with a brow pencil, powder, or gel.
Eyeshadow: Apply your eyeshadow in your desired pattern, from subtle to dramatic.
Eyeliner: Apply eyeliner along your lash line. Define it with precision.
Mascara: Apply mascara to your upper and lower lashes, to lengthen and volumize them.

5. Lips: Completing the Look
The final stroke of our masterpiece.
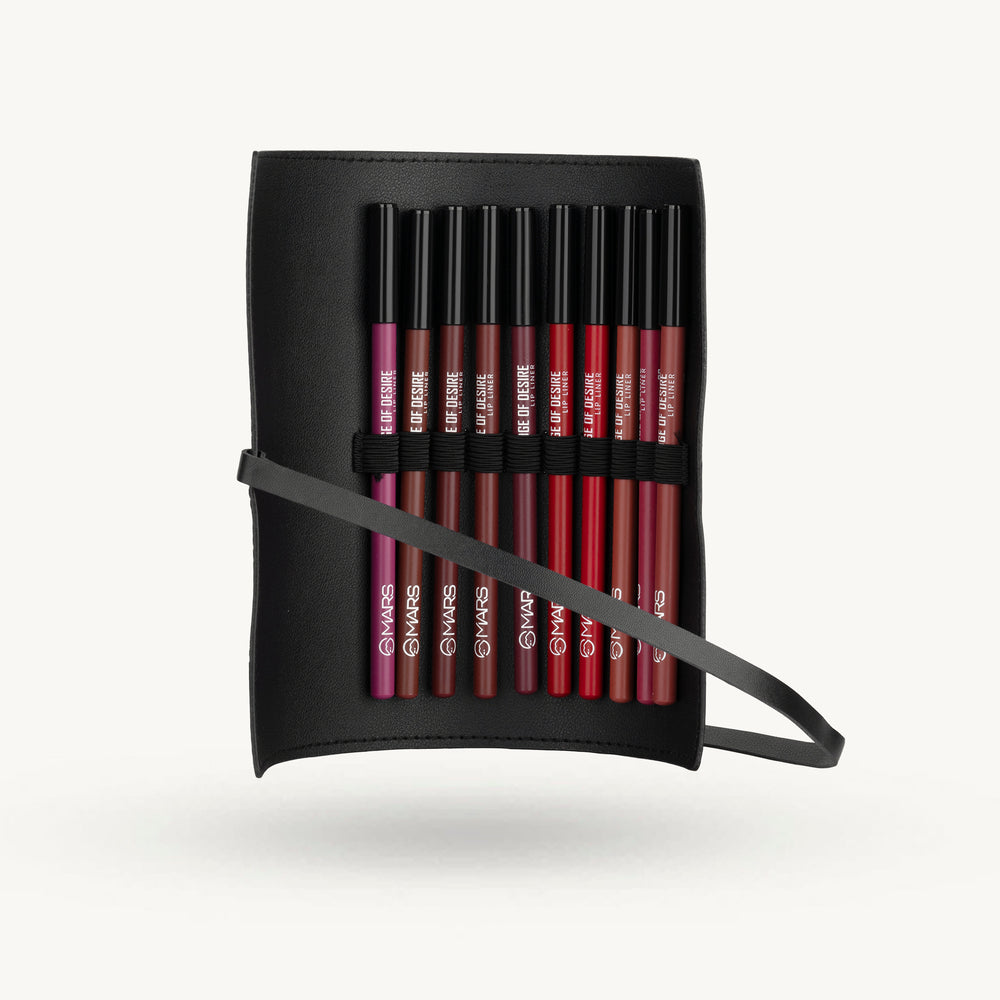
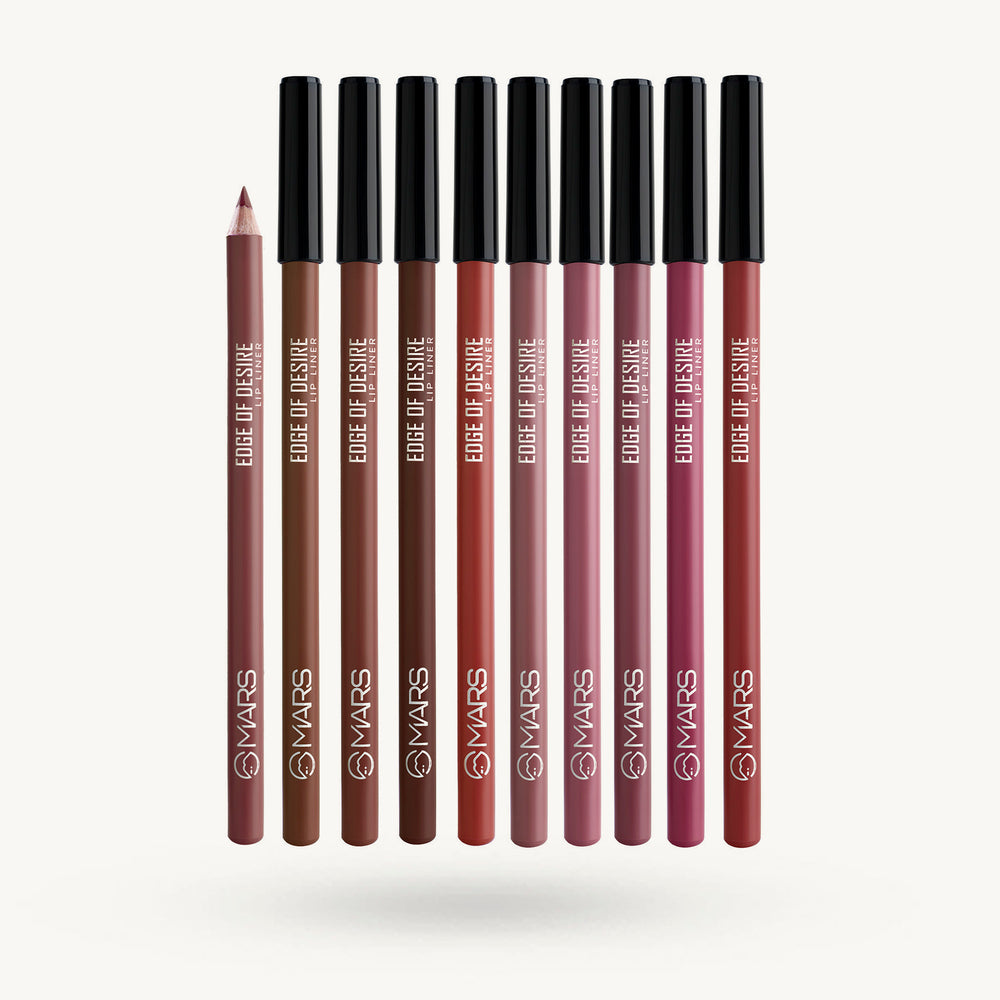
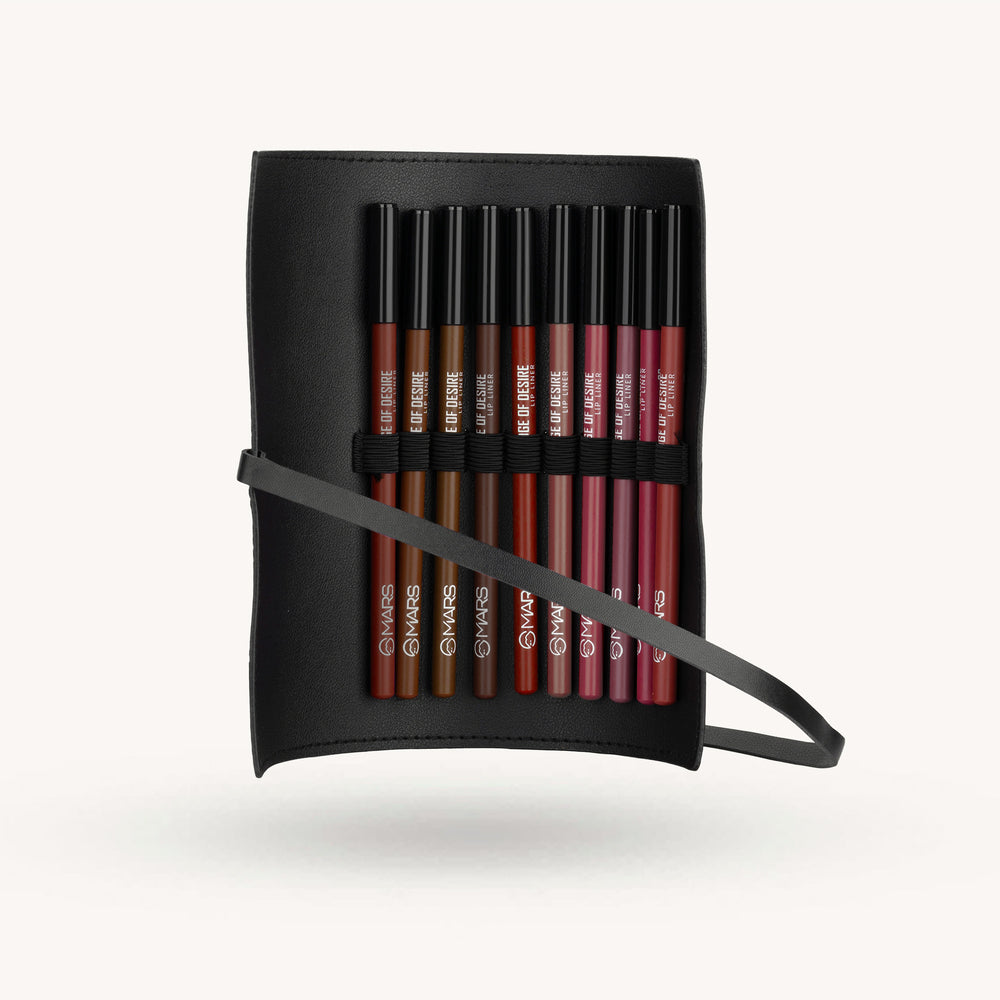
Lip Liner (Optional): Line your lips to define their shape and prevent lipstick from feathering.
Lipstick or Lip Gloss: Apply your chosen lip product.

6. Setting Your Makeup: Ensuring Longevity
We've created our masterpiece, now we must ensure it lasts.
Setting Powder (Optional): Apply a translucent setting powder to areas that tend to get oily, such as your T-zone.
Setting Spray: Finish with a setting spray to lock your makeup in place and prevent it from smudging or fading.
Key Tips:
Blend, Blend, Blend: Seamless blending is crucial for a natural-looking finish.
Light Layers: Apply your products in thin layers to avoid a cakey look.
Tools Matter: Invest in quality makeup brushes and sponges for optimal application.
Practice Makes Perfect: Don't be afraid to experiment and find what works best for you.
Consider Your Skin Type: some products work better for oily skin, and others for dry skin.
Listen to Your Skin: If a product causes irritation, discontinue use.
In Conclusion,
This "Beauty Blueprint" is your guide to creating a makeup routine that empowers you to feel confident and beautiful every day. So, grab your map, explore your creativity, and paint your own masterpiece! By following this step-by-step makeup routine, you'll be well on your way to achieving a flawless, long-lasting makeup look.


Your cart is empty